 Technical Fies
TIPS
Many thanks for your trust, We will contact you as soon as we see the information
Technical Fies
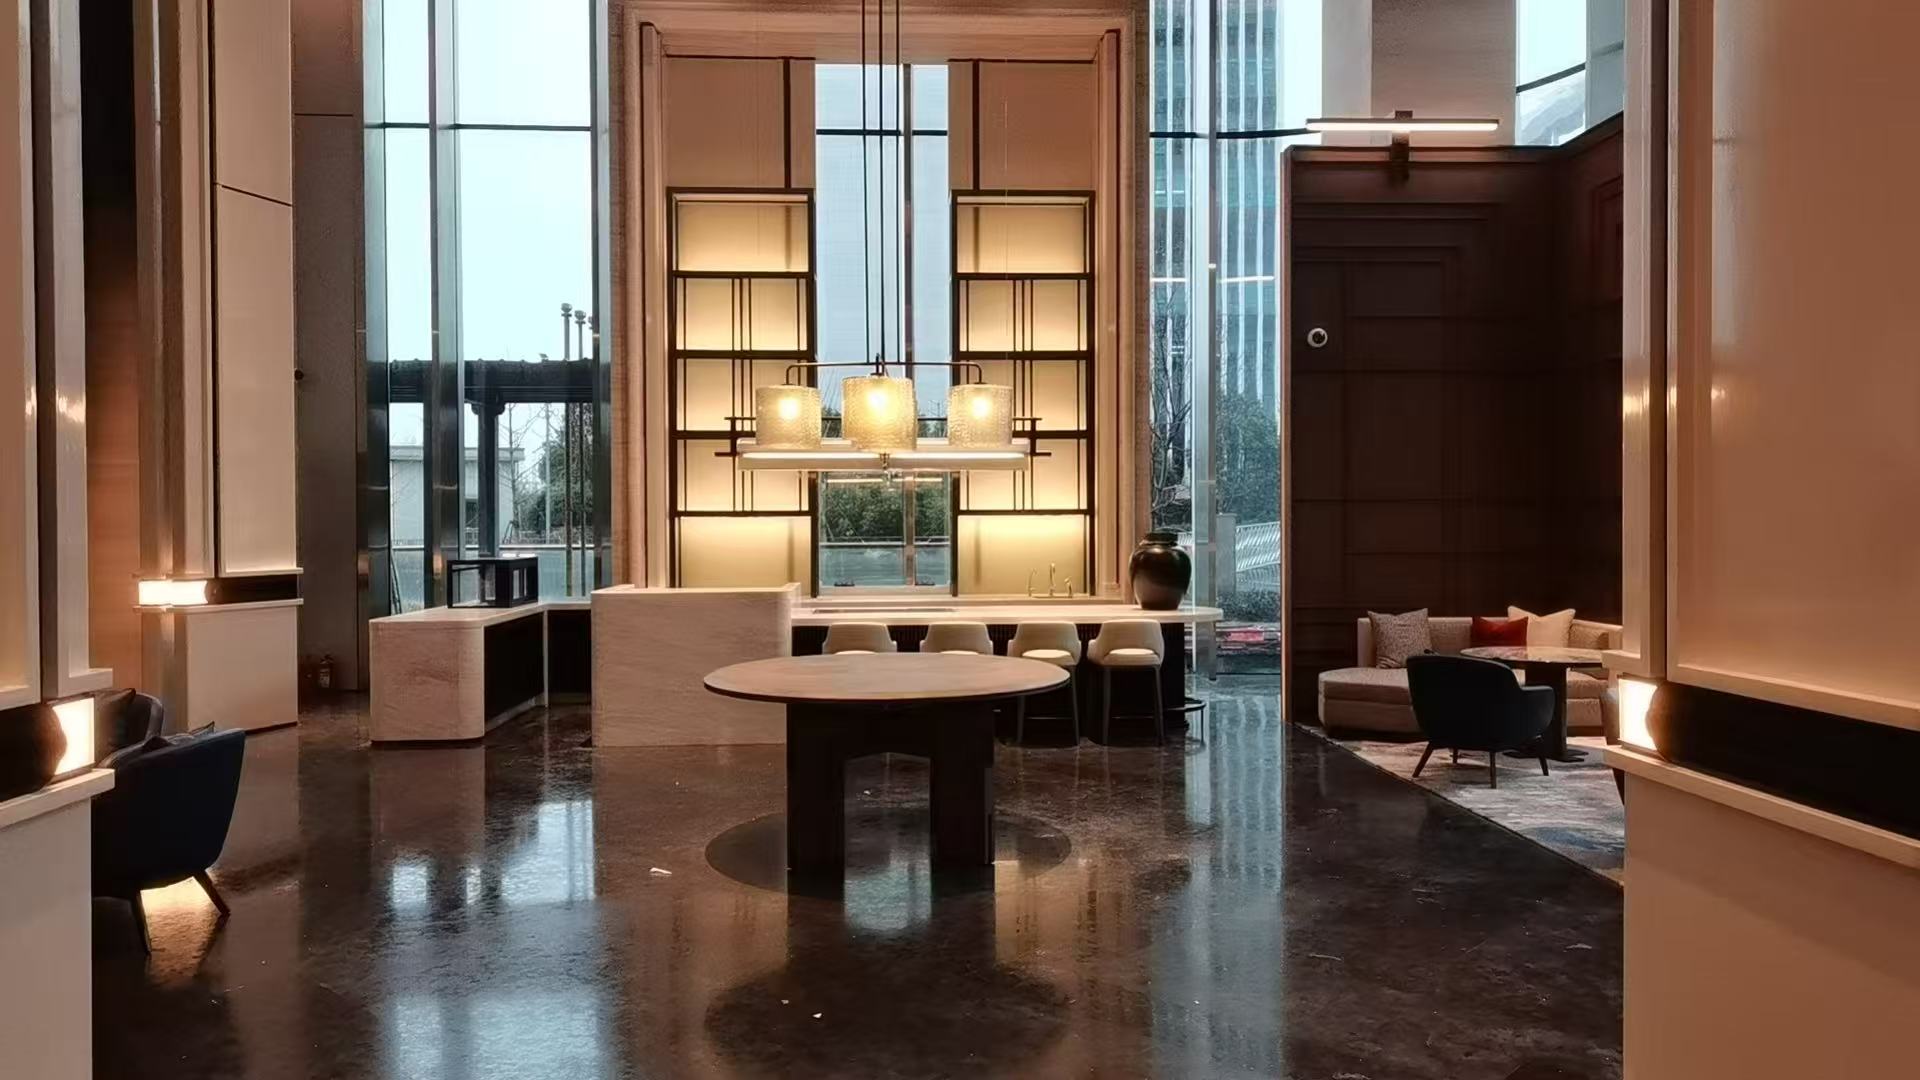
A luxury hotel lobby can have premium stone, carefully selected furniture, and an exceptional ceiling design, yet still feel uncomfortable if guests see bright LED points every time they look up. Knowing how to choose anti glare downlights is therefore not simply a fixture-selection exercise. It is a decision about visual comfort, architectural character, and how confidently people can use a space.
For commercial interiors, the best anti-glare downlight does more than conceal the LED source. It delivers the required light where it is needed, protects the visual experience from harsh brightness, and integrates cleanly with the ceiling. The specification must balance optics, output, mounting depth, beam control, color quality, and the actual viewing angles within the project.
Anti-glare performance is most effective when it responds to a defined task. A downlight over a restaurant table, for example, should create a comfortable pool of light without making diners aware of the source. In a retail fitting room, facial illumination and color rendering matter as much as glare control. In an office corridor, the priority may be safe, uniform circulation lighting with low visual distraction. https://www.gamma-lighting.com/index/Products/details?id=66
Begin by mapping where people stand, sit, walk, and look. Consider ceiling height, furniture layout, display walls, reflective finishes, and sightlines from entrances or seating areas. A fixture that performs well in a high-ceiling showroom can feel overly recessed or underpowered in a boutique hotel guestroom.
This application-first approach also prevents a common specification error: choosing the deepest recessed, darkest-looking downlight without confirming whether it can deliver enough useful illumination. Strong cut-off is valuable, but it must not come at the expense of functional light levels or maintenance access.
Glare occurs when a light source appears excessively bright in relation to its surroundings. With downlights, the main concern is usually direct glare: the viewer can see the LED emitter or a highly luminous internal surface at normal viewing angles. Good anti-glare design reduces that exposure through optical and mechanical control.
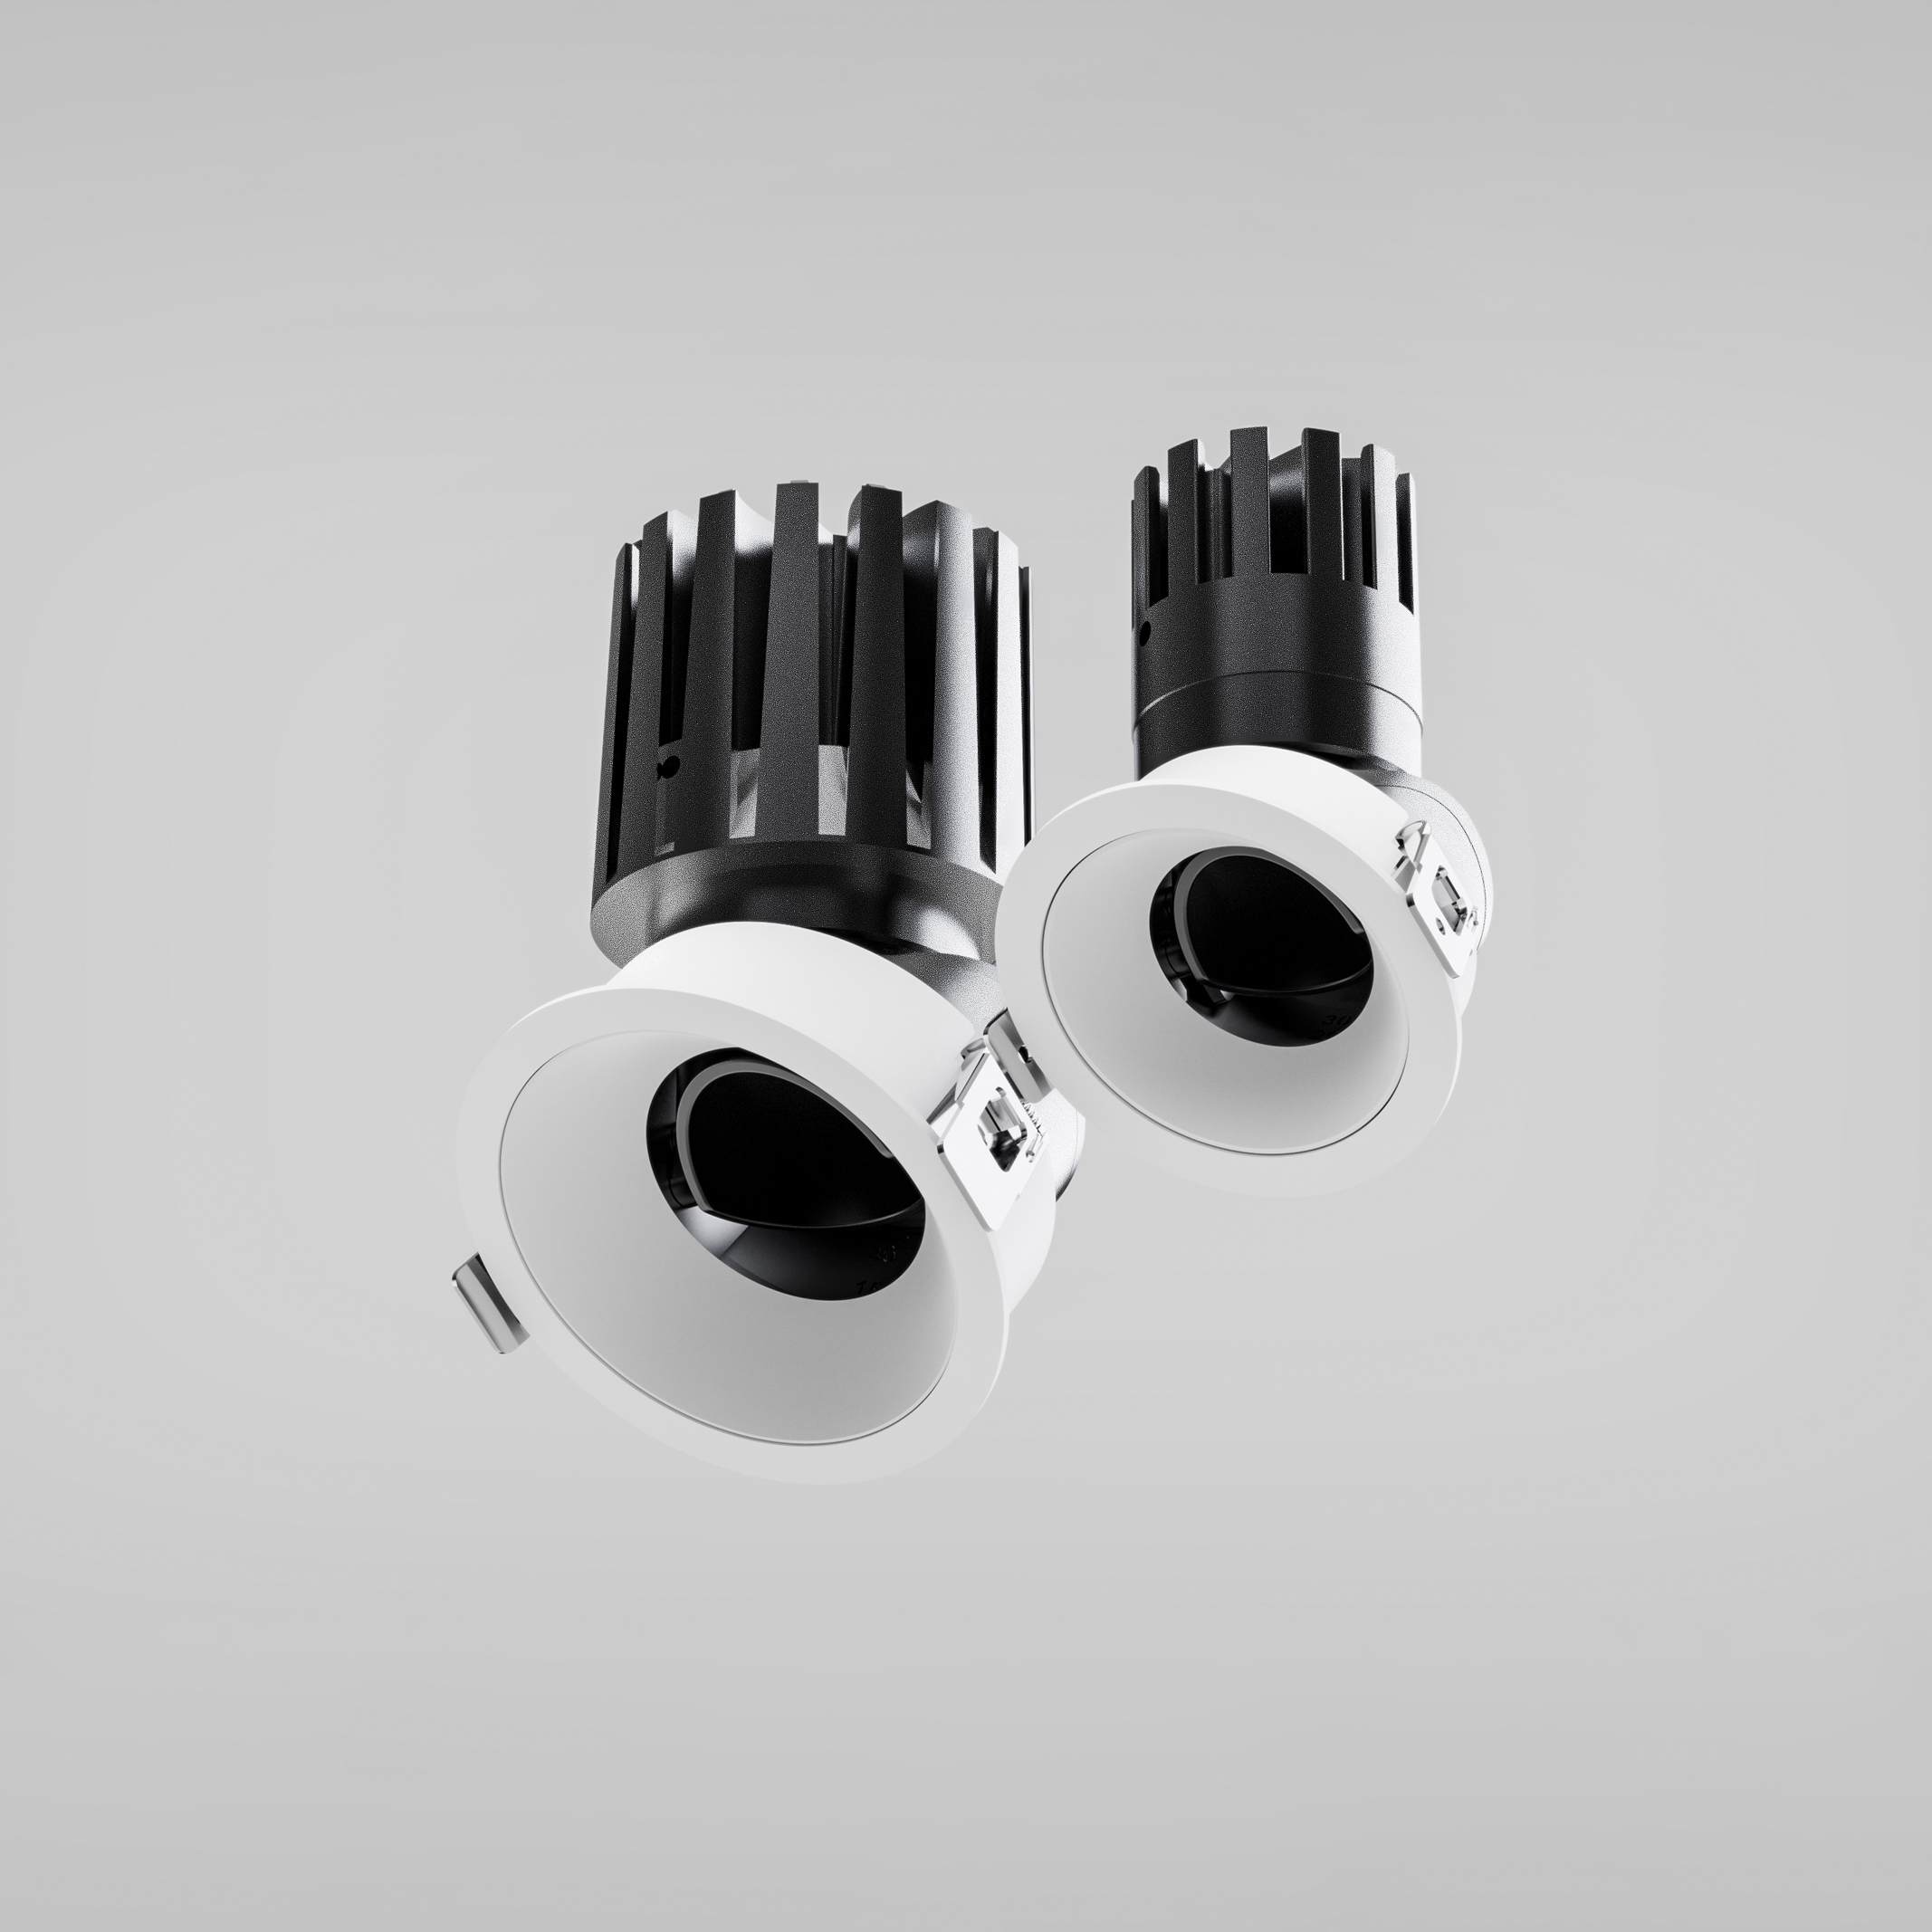
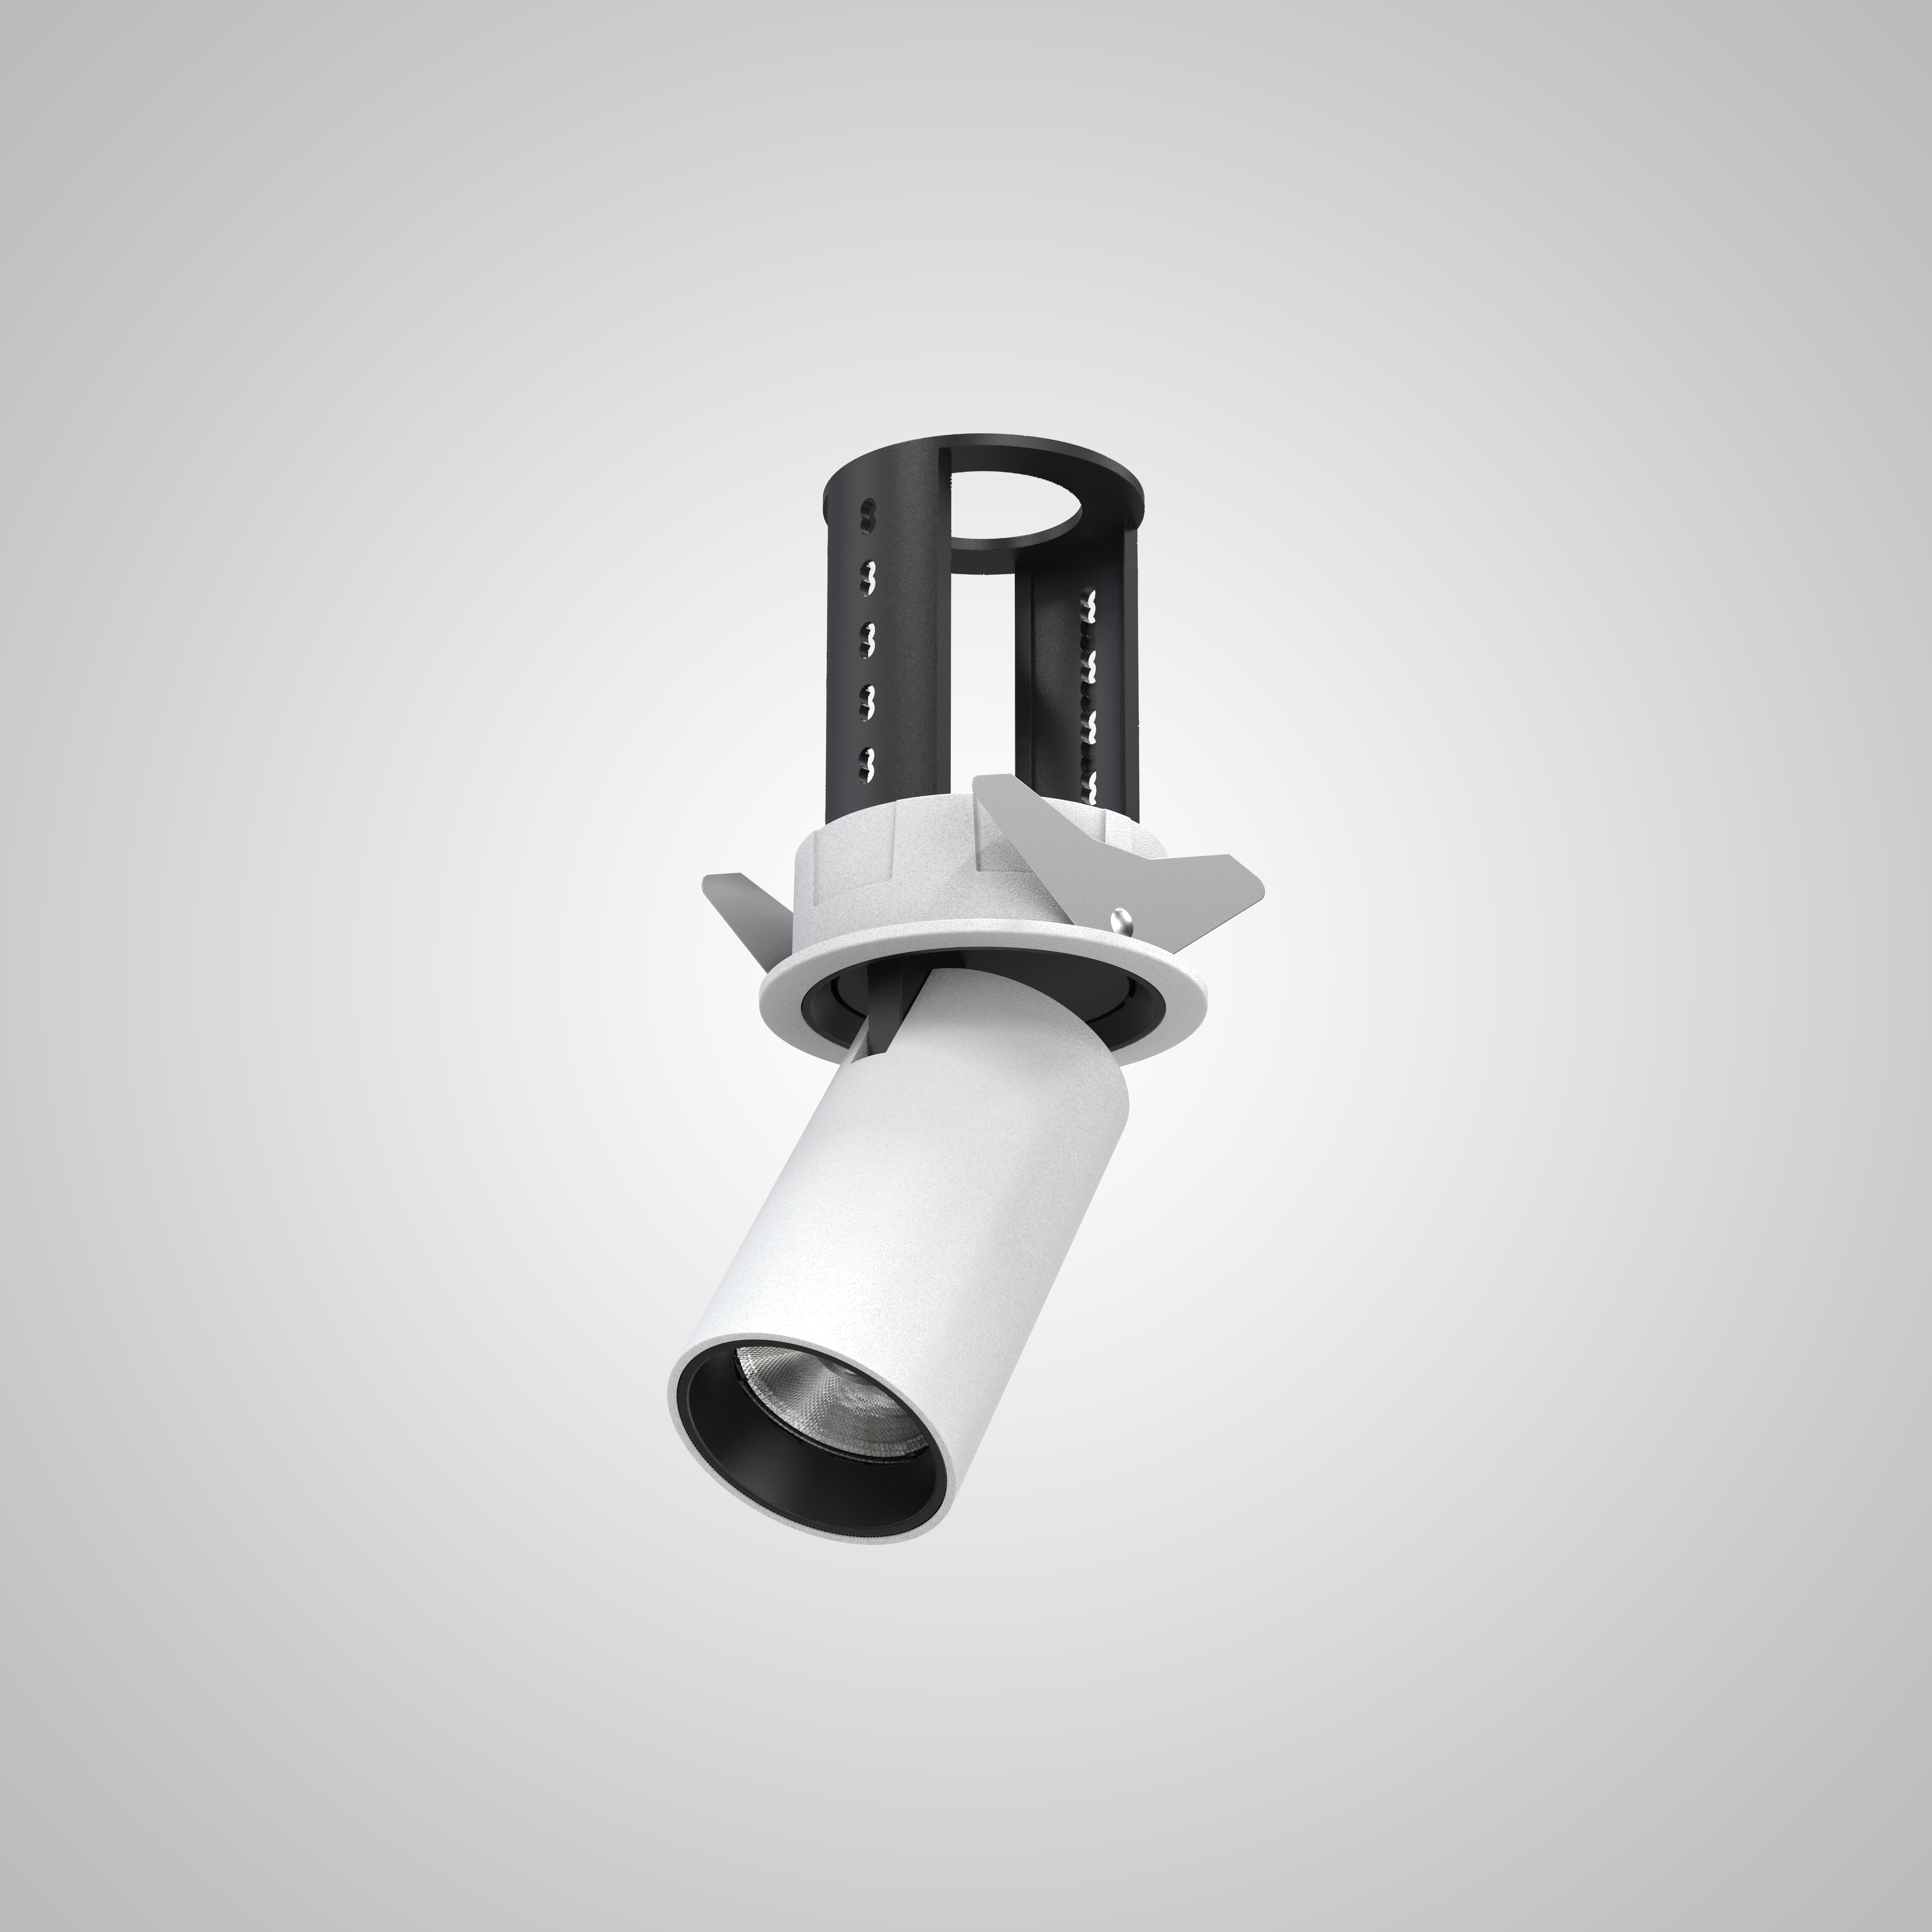
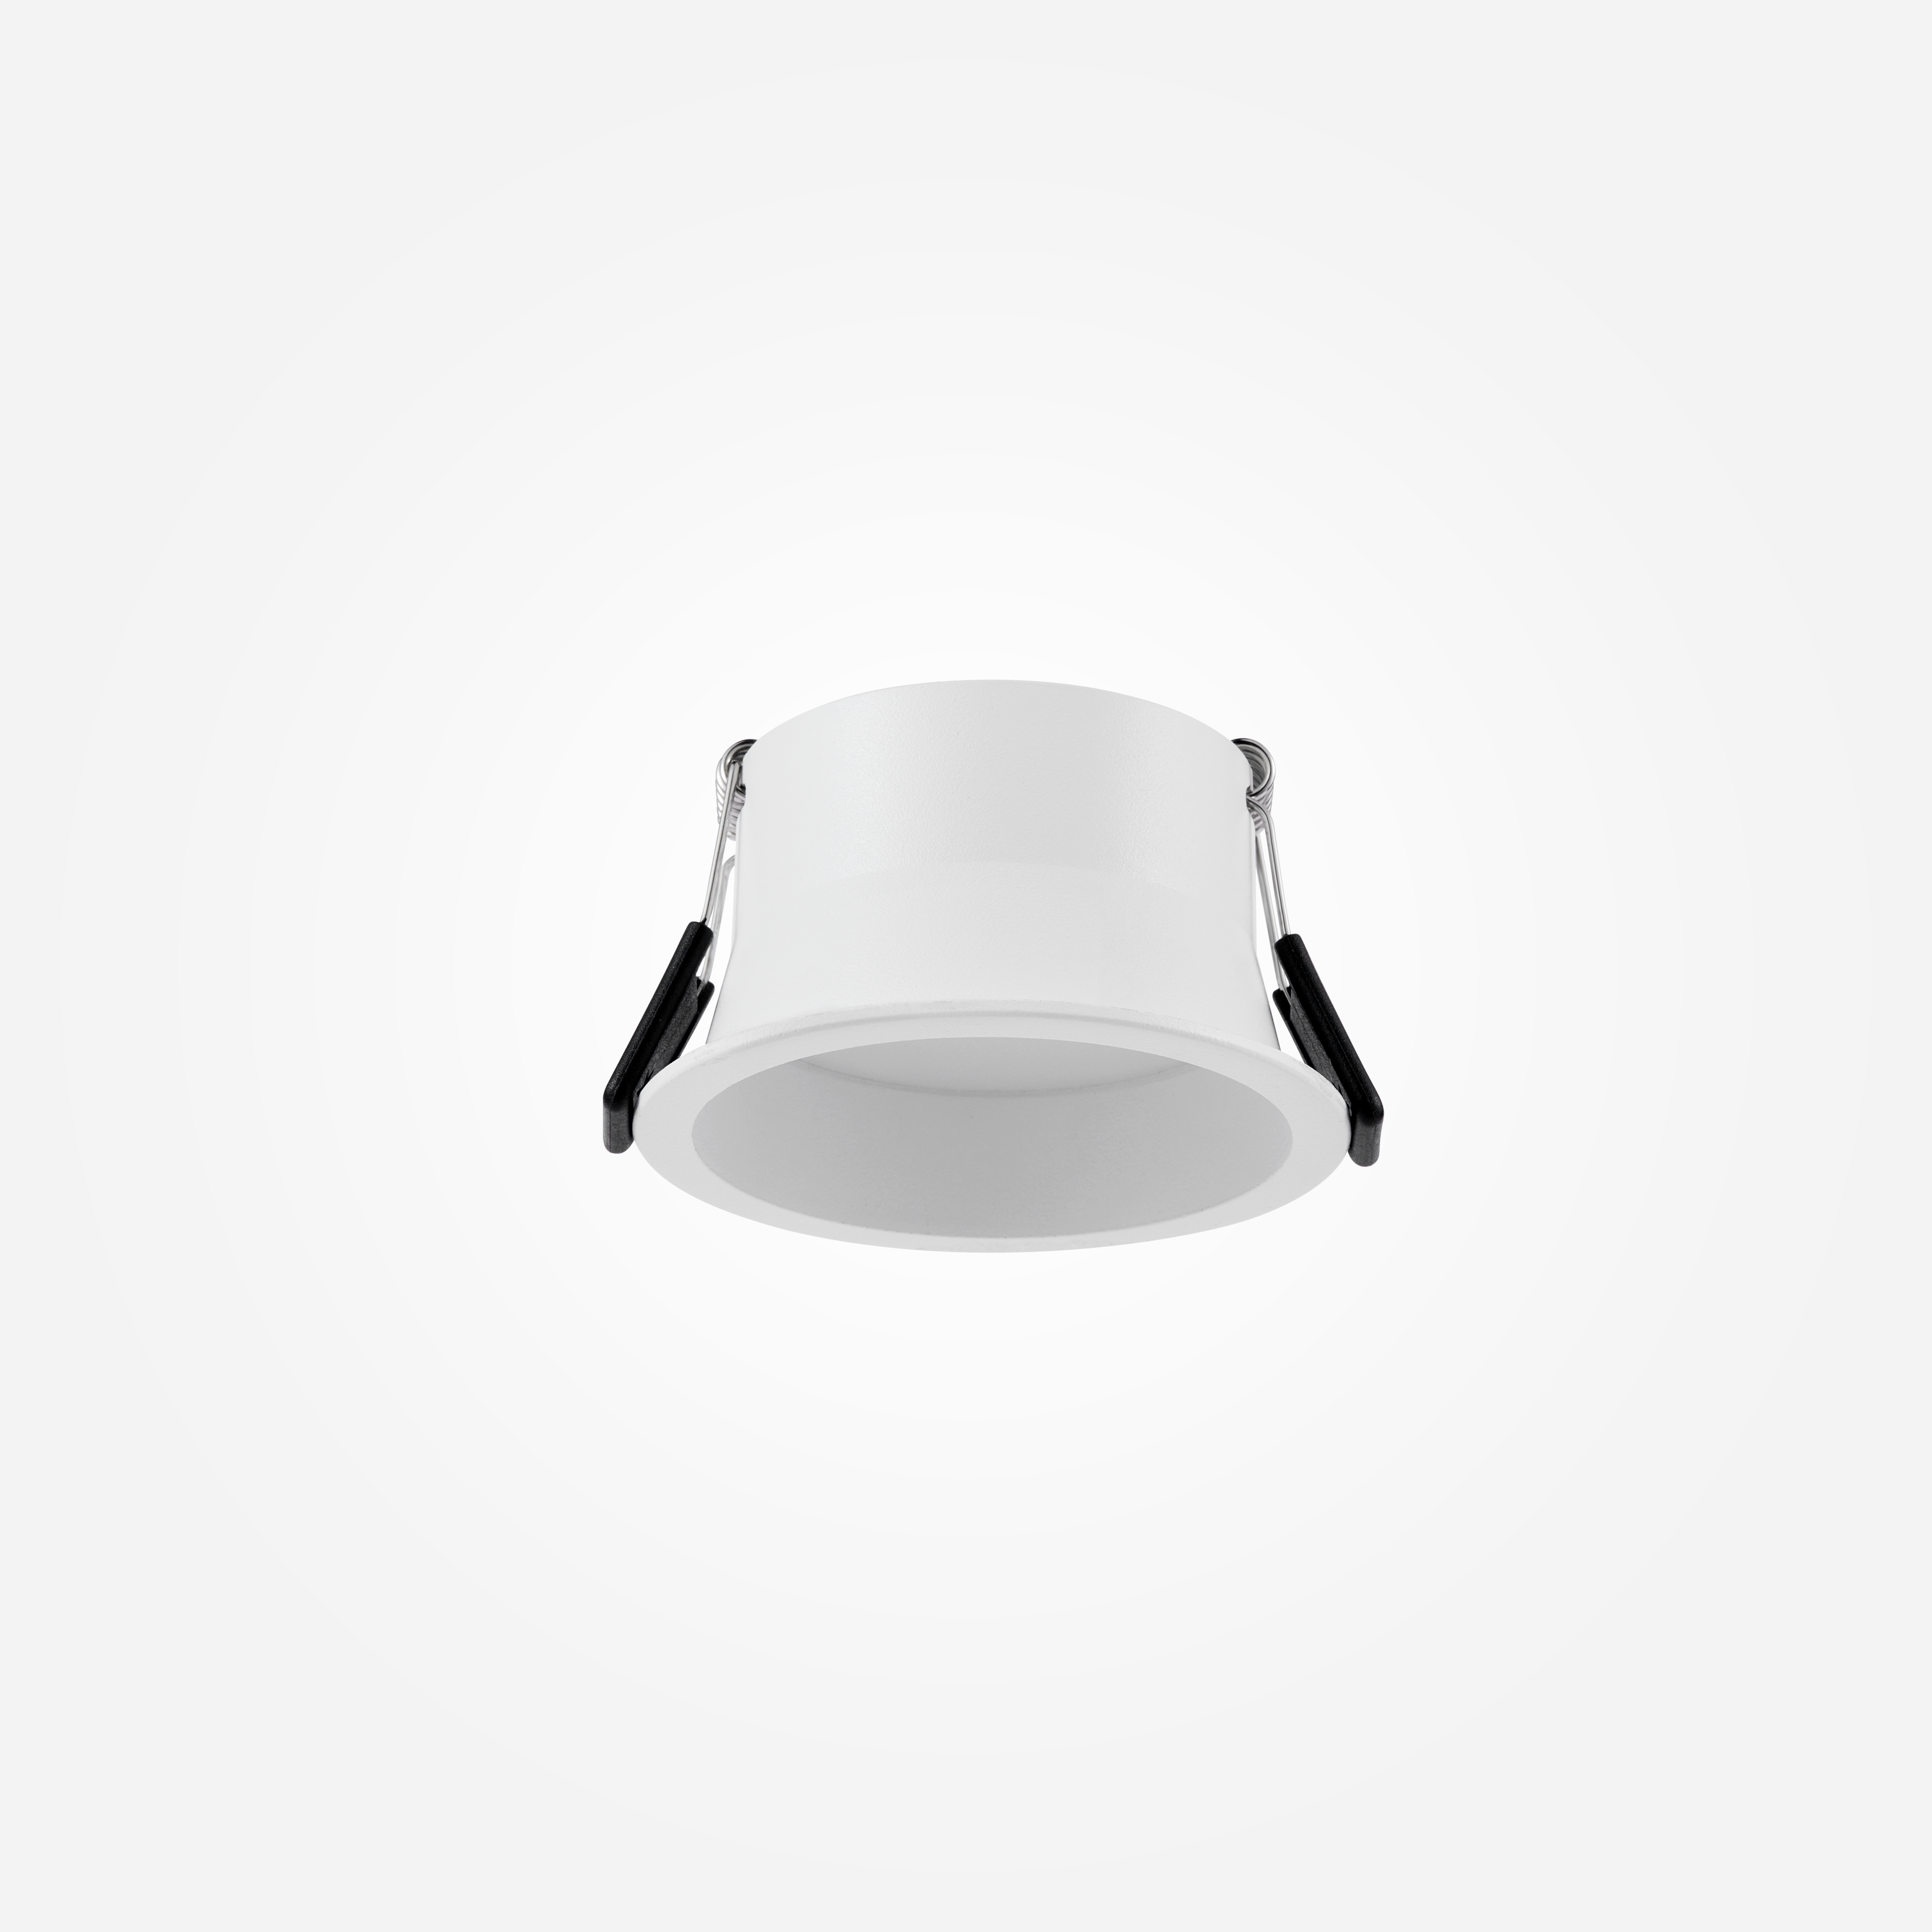
A deep-recessed LED position is one of the most reliable ways to improve visual comfort. By setting the light source higher inside the fixture, the trim and reflector shield it from lateral views. This creates a higher cut-off angle, meaning the source is hidden until the viewer moves closer to directly beneath it.
For hospitality, galleries, executive offices, and premium retail, deeper recessing is often preferable because people spend more time in the space and notice ceiling brightness more readily. Black or dark internal baffles can further reduce apparent brightness by absorbing stray light rather than reflecting it toward the eye.
However, a deep housing is not automatically the right choice. Ceiling void depth may be limited, especially in renovation projects. In those cases, select a shallow fixture engineered with a recessed optic, controlled reflector, or micro-louver rather than accepting a flat, exposed LED module.
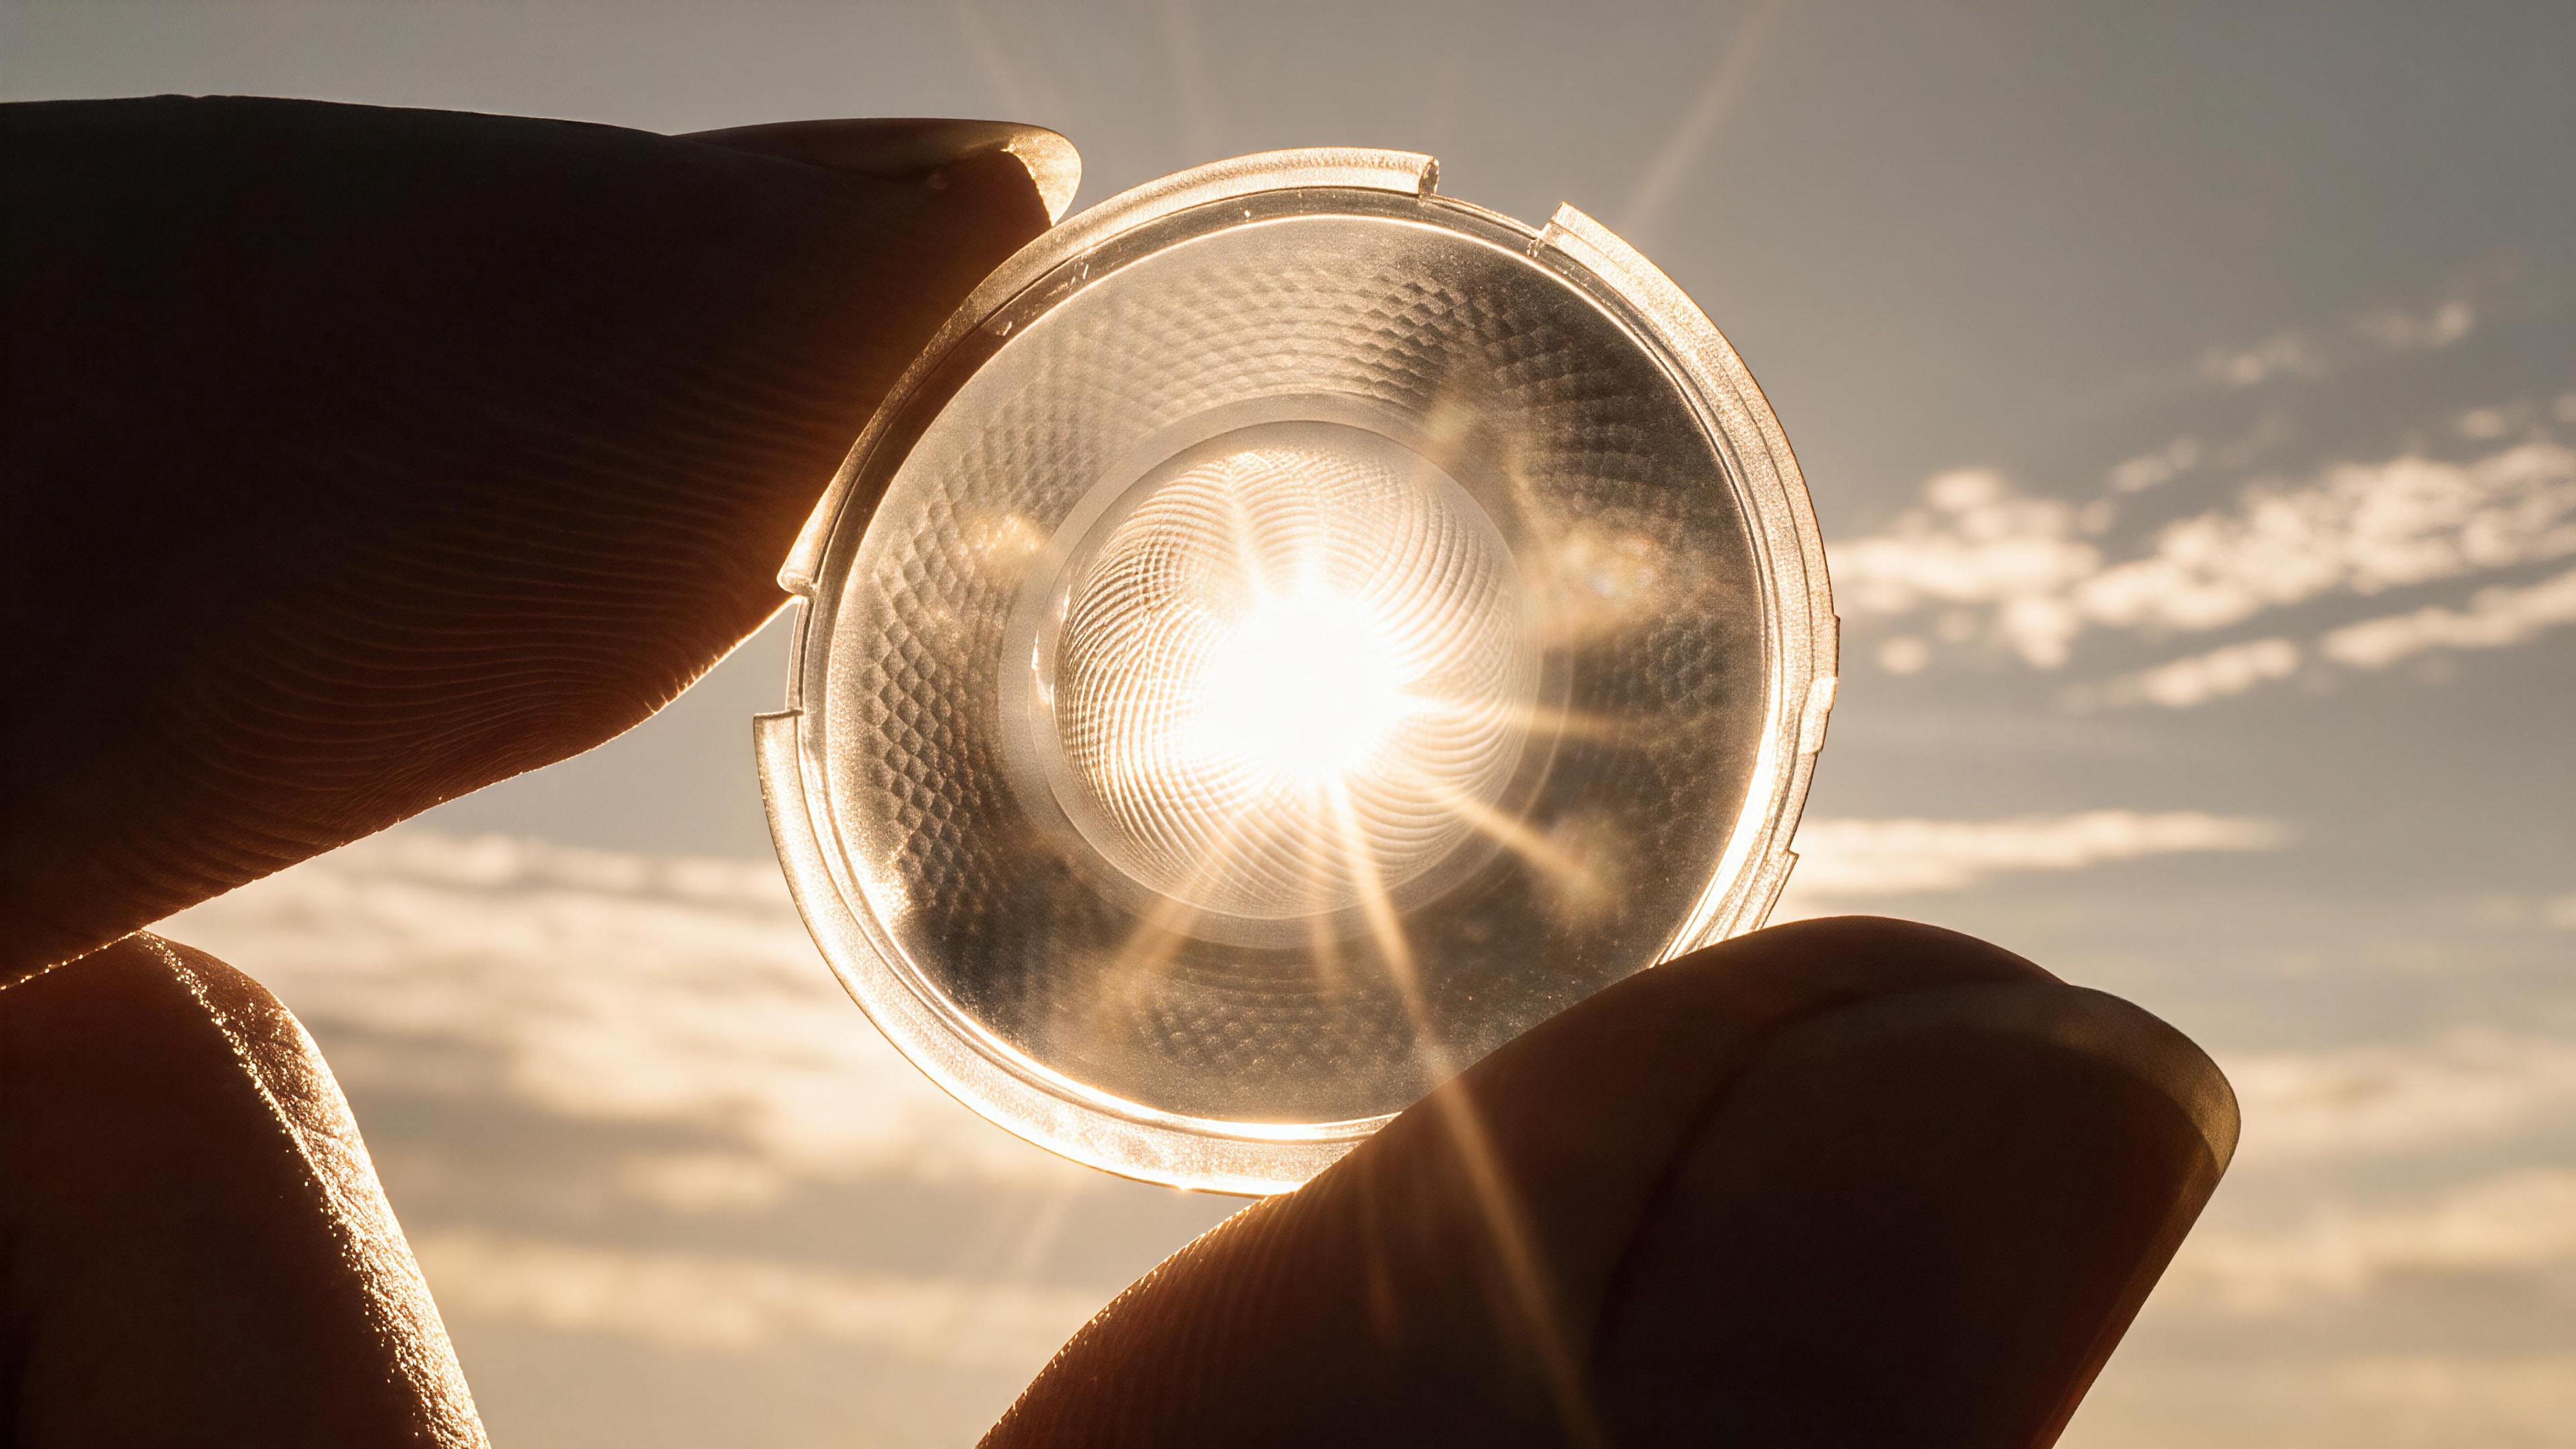
“Anti-glare” is not a complete technical specification. Ask how the fixture achieves glare control and what the beam actually looks like on the target surface. A quality optic should produce a clean beam, controlled spill light, and a smooth transition from the beam center to its edge.
Reflector geometry, lens design, honeycomb louvers, and baffles all influence visual comfort. A louver can conceal the source effectively, but it may also reduce delivered lumens and narrow the visual field. This is a reasonable trade-off for intimate dining, luxury retail, or exhibit lighting, where comfort and controlled emphasis are priorities. It may be less appropriate for a back-of-house area that needs broad, efficient general illumination.
Beam angle determines the width of the light distribution. It should be chosen alongside mounting height and fixture spacing, not after the ceiling plan is complete. A narrow beam can produce striking contrast and focused accent lighting, but too many narrow pools create dark gaps and visual fatigue. An excessively wide beam can flatten the architecture and introduce unwanted brightness on glossy surfaces.
As a practical principle, use narrow to medium beams for display zones, artwork, feature tables, and vertical accents. Wider beams are generally more suitable for ambient lighting over circulation routes, work areas, and open hospitality spaces. The exact selection depends on the mounting height and desired illuminance at the working plane.
For example, a downlight installed in a 10-foot ceiling may need a medium or wide beam for comfortable room lighting. The same beam from a 16-foot lobby ceiling may spread too broadly and lose useful intensity. A lighting calculation or mock-up is the most dependable way to verify spacing, overlap, and uniformity before finalizing a large order.
High lumen output does not guarantee better lighting. A powerful downlight with insufficient shielding can make a space feel clinical, particularly when paired with dark ceilings or reflective stone floors. Conversely, a lower-output fixture may create an elegant ceiling but fail to support wayfinding, food presentation, merchandise visibility, or cleaning tasks.
Specify output based on the room’s target light level, reflectance, daylight contribution, and lighting layers. Downlights should rarely be expected to solve every lighting requirement alone. Combining them with wall washing, linear ambient light, decorative pendants, or adjustable spotlights often creates a more balanced environment with lower perceived glare.
Dimming is particularly valuable in hospitality and retail. It allows the project team to tune brightness after furniture, finishes, and merchandising are in place. Select compatible dimming protocols early, whether the project uses phase dimming, 0-10V, DALI, or a building control system. Poor driver compatibility can cause flicker, limited dimming range, or inconsistent behavior between fixtures.
Color temperature affects the perceived brightness and atmosphere of a downlight. Warm white light, commonly around 2700K to 3000K, supports relaxed hospitality interiors, restaurants, and residential-style guest spaces. Neutral white, often around 3500K to 4000K, can suit offices, service areas, and contemporary retail environments where a clearer visual impression is required.
The correct choice depends on finishes and brand intent. Warm light can enrich timber, textiles, and hospitality materials, while cooler light may make some stone, white merchandise, or task-oriented spaces feel cleaner. Evaluate samples against the actual project palette rather than choosing solely from a data sheet.
Color rendering should also be considered carefully. High CRI supports accurate finishes, food, artwork, and merchandise presentation. For fashion, cosmetics, galleries, and premium food environments, assess extended color fidelity, especially red rendering, as well as overall CRI. The goal is not merely a high numerical rating but convincing, consistent color across the installation.
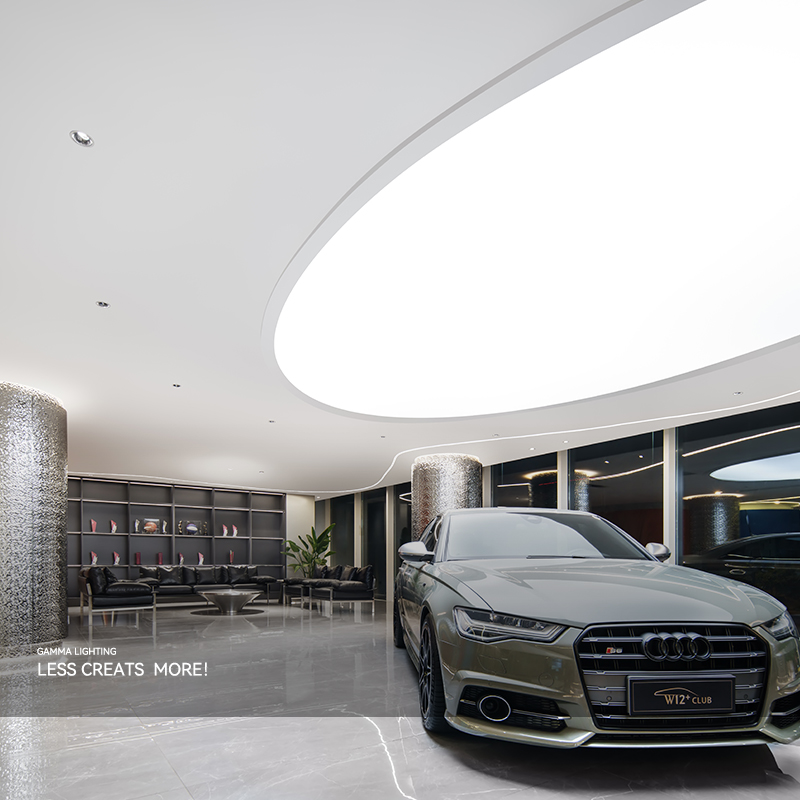
A downlight remains visible even when the light source is hidden. Its trim, aperture size, and finish contribute to the ceiling composition. Small apertures can create a refined, minimal appearance, while larger apertures may be necessary for higher outputs or wider distributions.
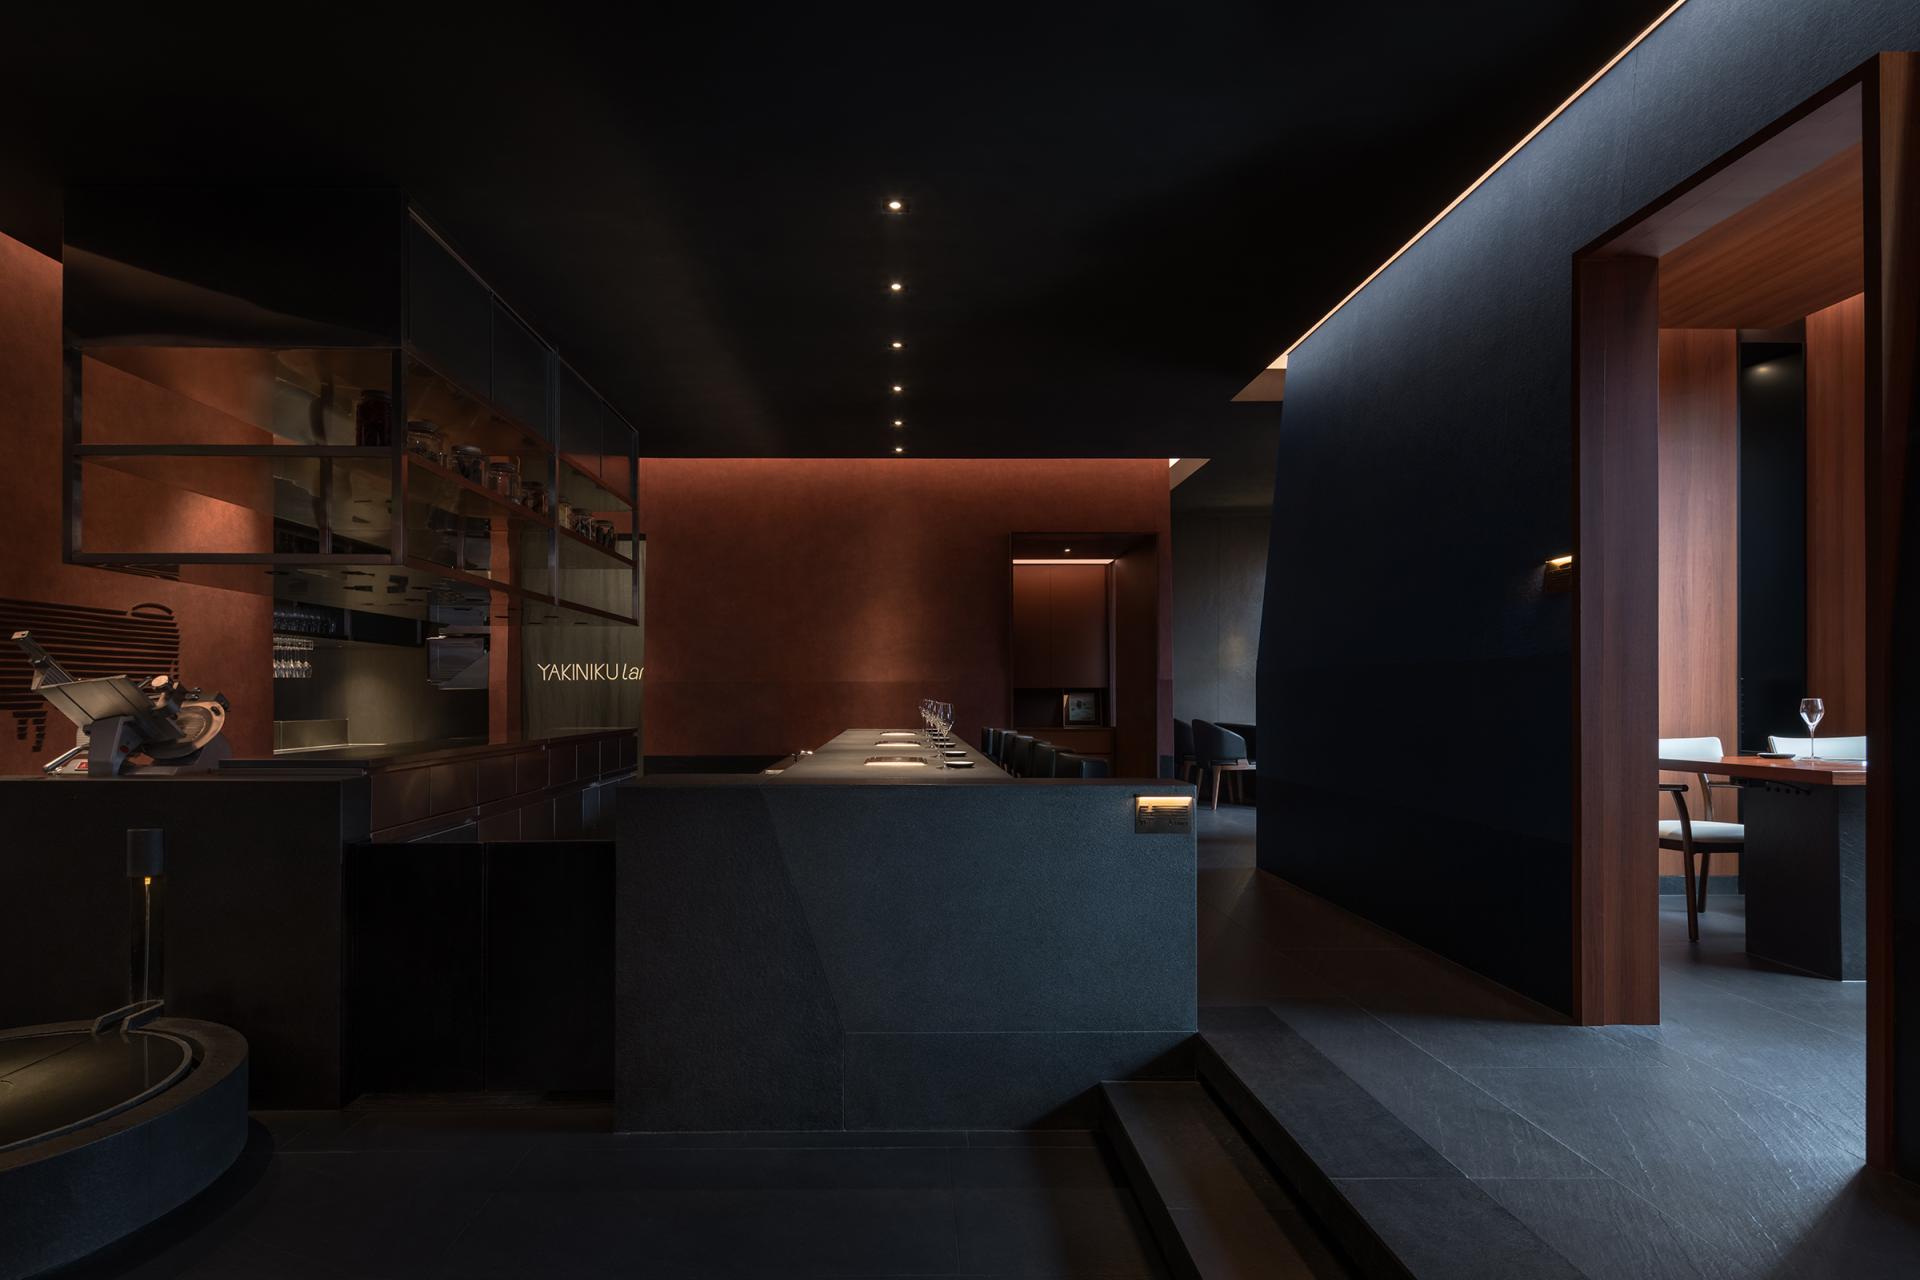
White trims generally disappear into light ceilings. Black or dark trims can create a deliberate architectural rhythm and often reinforce the visual impression of depth. Trimless options offer the cleanest integration in high-end interiors, but they require careful coordination with drywall work, plaster finish, tolerances, and future service access.
For wet areas, exterior soffits, kitchens, or demanding hospitality locations, confirm the required ingress protection rating and housing material. In public projects, durability and consistency are as important as the initial visual effect.
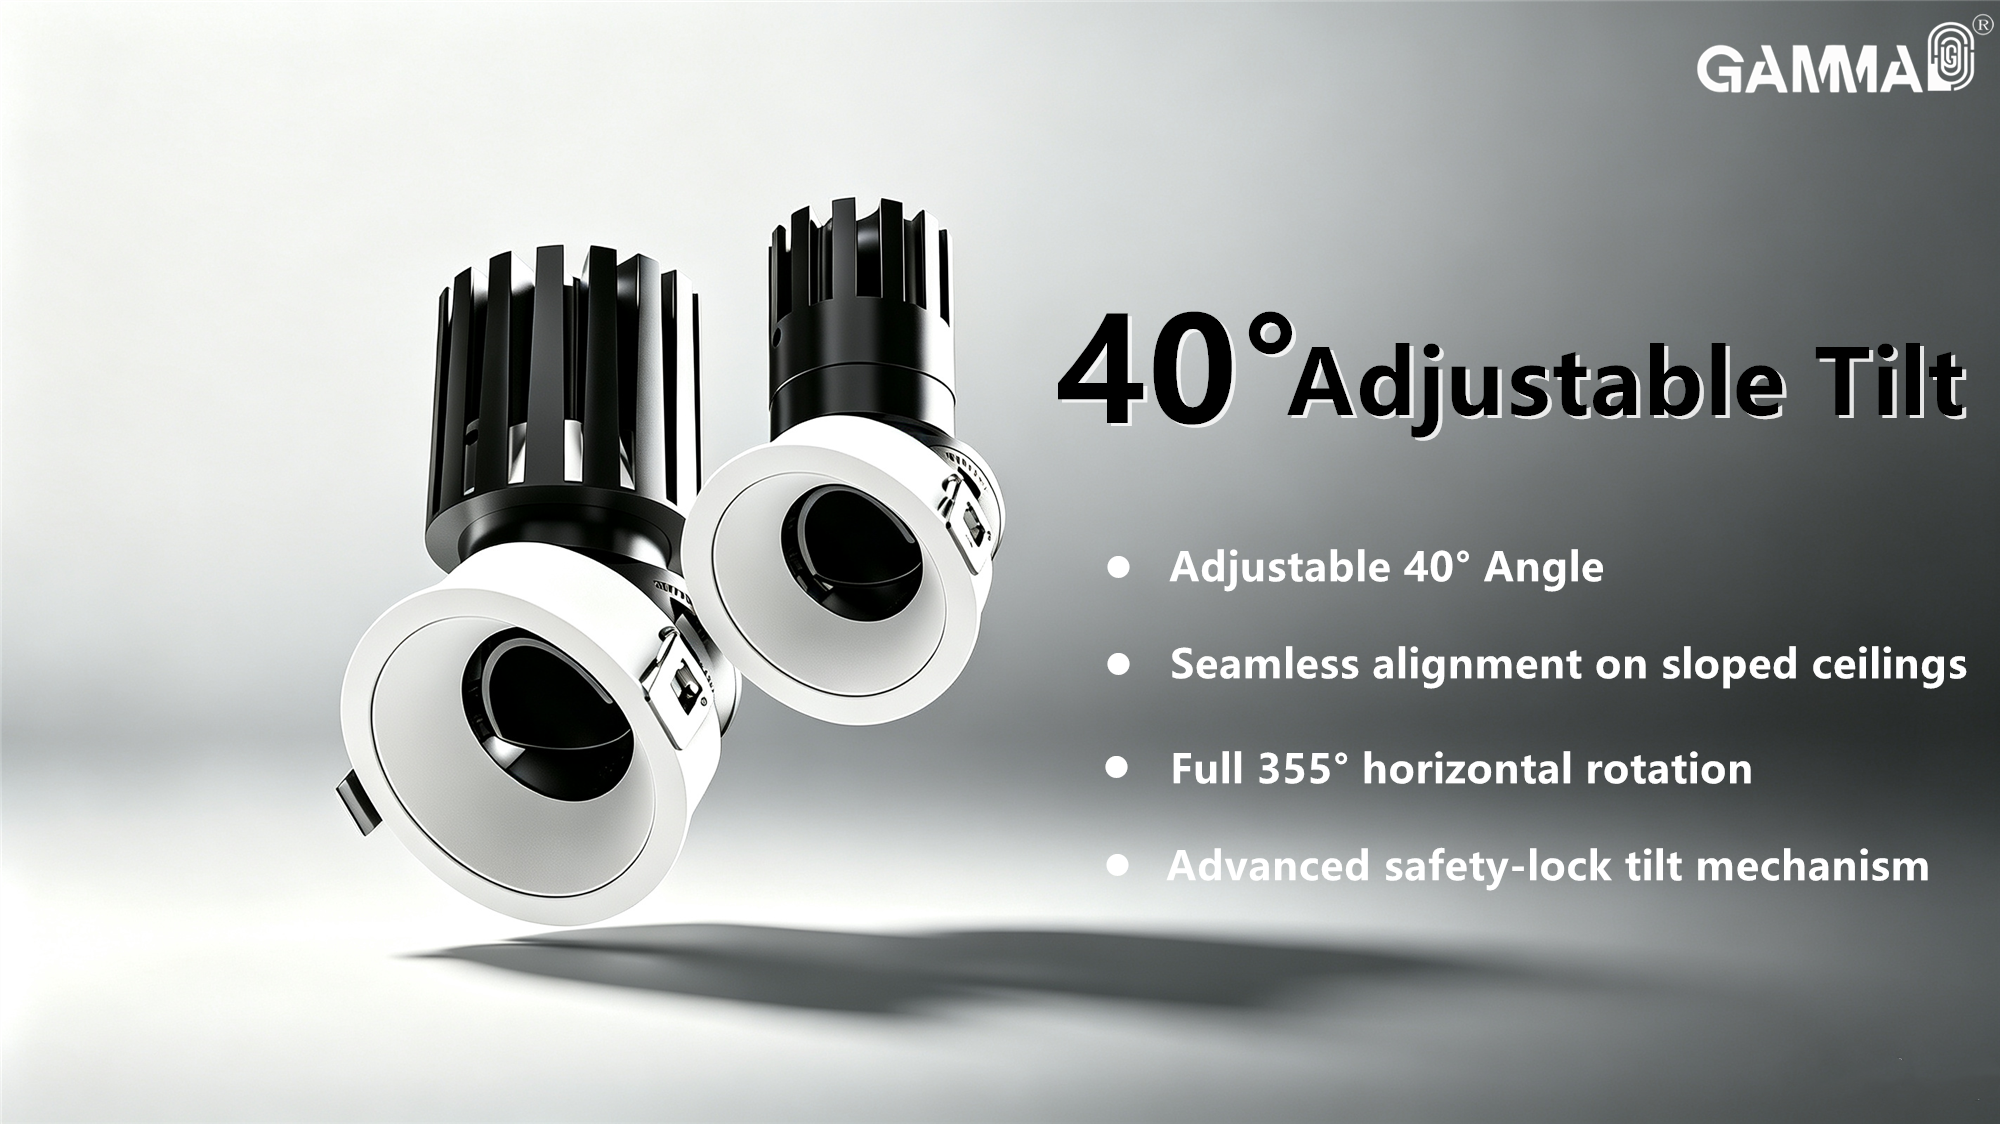
Fixed downlights are effective for stable, repeatable lighting layouts. Adjustable models are often a stronger choice where displays change, artwork is moved, or architectural features require precise aiming. A modest tilt or rotation range can prevent costly compromises once the interior is complete.
Maintenance should be addressed before specification approval. Confirm driver location, replacement procedure, thermal management, and access above the ceiling. LED lifetime claims are only meaningful when the fixture can manage heat properly in its installed condition, particularly in insulated ceilings or hot climates.
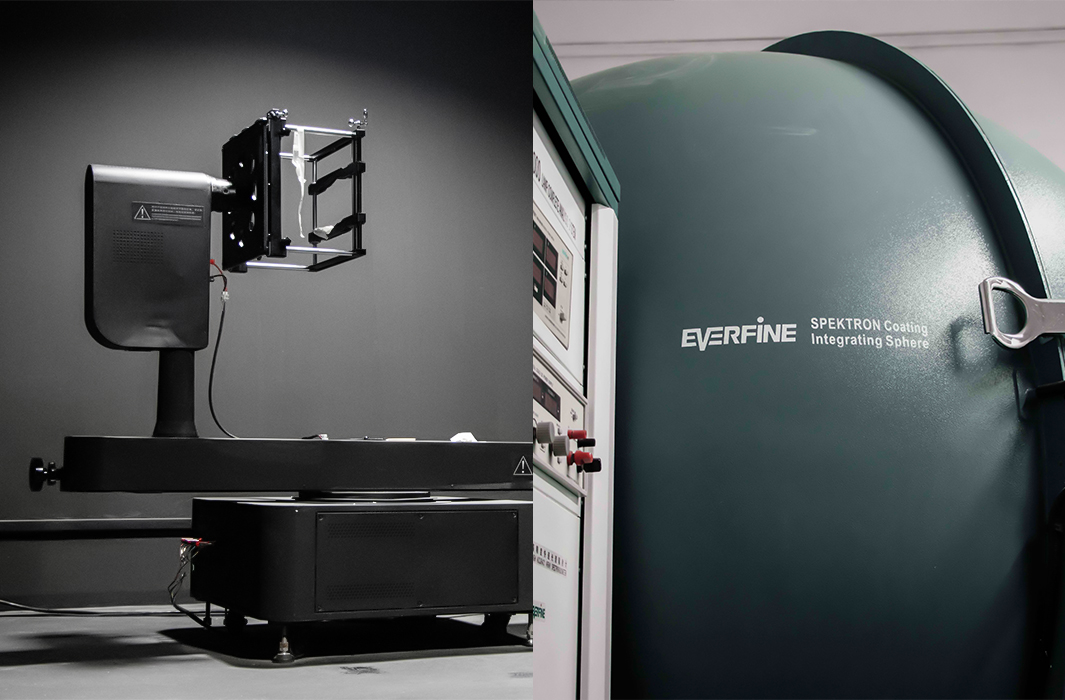
For complex projects, request photometric data, glare information, cut sheets, and sample fixtures. A site mock-up can reveal reflections, ceiling brightness, and beam quality that drawings cannot fully predict. Gamma Lighting can also support customized fixture dimensions, finishes, optics, and project-specific configurations where a standard downlight does not fit the architectural requirement.
The right anti-glare downlight lets people notice the materials, merchandise, artwork, and atmosphere of a space before they notice the lighting itself. That is the standard worth specifying: comfortable light, accurately placed, with technical performance that remains credible long after the project opens.